How to Dockerize an Existing Node.js Application
Docker is a software platform that enables packaging an application into containers. These containers represent isolated environments that provide everything necessary to run the application. Dockerizing an application refers to packaging it in a Docker image to run in one or more containers.
Dockerizing an application involves specifying everything
needed to run the application in a Dockerfile and then using the file to build
a specialized Docker image that can be shared to multiple machines. A Docker
image is a reproducible environment for the application that guarantees
portability across machines.
In this tutorial, you’ll learn the process of Dockerizing an existing Node.js application from scratch. We’ll cover topics such as:
- What the
Dockerfilerepresents - Sharing Docker images to multiple machines, and
- The basics of Docker Compose for orchestrating multi-container applications.
After reading this article, you should be armed with enough knowledge to Dockerize your own applications, even if they’re built with some other technology.
Setting up a demo Node.js application
To demonstrate the concepts discussed in this article, we’ll use a demo Node.js application that provides an endpoint for the retrieval of Covid-19 statistics. It uses the free API provided by disease.sh. You can clone its GitHub repository to your computer using the command below:
git clone https://github.com/finallyayo/covid-nodeOnce downloaded, cd into the project folder and run yarn to install its
dependencies. Afterwards, open up the app.js file in your text editor. You
should see the following contents:
const fastify = require('fastify')({
  logger: true,
});
const got = require('got');
const NodeCache = require('node-cache');

const appCache = new NodeCache();

fastify.get('/covid', async function (req, res) {
  try {
    let covidAllStats = appCache.get('covidAllStats');

    if (covidAllStats == null) {
      const response = await got('https://disease.sh/v3/covid-19/all');
      covidAllStats = response.body;

      appCache.set('covidAllStats', covidAllStats, 600);
    }

    res
      .header('Content-Type', 'application/json; charset=utf-8')
      .send(covidAllStats);
  } catch (err) {
    fastify.log.error(err);
    res.code(error.response.code).send(err.response.body);
  }
});

fastify.listen(4000, '0.0.0.0', (err, address) => {
  if (err) {
    fastify.log.error(err);
    process.exit(1);
  }

  fastify.log.info(`server listening on ${address}`);
});
This application provides a single endpoint (/covid) that returns the
aggregated global Covid-19 totals to date. Once retrieved from the API, the
data is subsequently cached in-memory for 10 minutes.
Specifying '0.0.0.0' as the address is essential when deploying to Docker,
because Docker containers do not default to exposing mapped ports to
localhost. If this address is missing, your application might be inaccessible
despite starting successfully in the container.
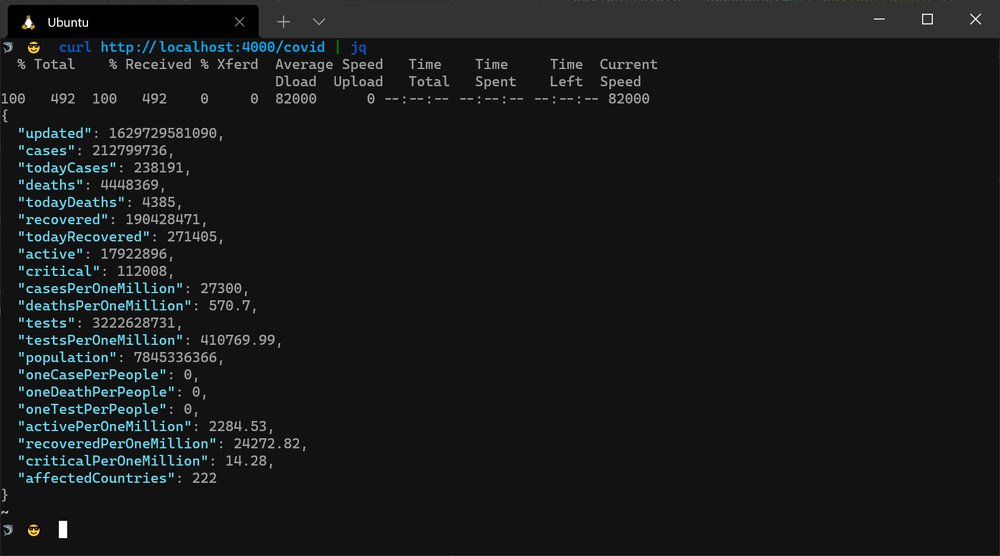
Go ahead and start the server with yarn dev, then make a GET request to the
/covid endpoint with curl or some other tool. You should see a JSON
response similar to the output shown below:
curl http://localhost:4000/covid{
"updated":1629986413872,
"cases":214977601,
"todayCases":270792,
"deaths":4481152,
"todayDeaths":5588,
"recovered":192301169,
"todayRecovered":273952,
"active":18195280,
"critical":112761,
"casesPerOneMillion":27580,
"deathsPerOneMillion":574.9,
"tests":3264569720,
"testsPerOneMillion":416082.42,
"population":7845968850,
"oneCasePerPeople":0,
"oneDeathPerPeople":0,
"oneTestPerPeople":0,
"activePerOneMillion":2319.06,
"recoveredPerOneMillion":24509.55,
"criticalPerOneMillion":14.37,
"affectedCountries":223
}
Although this is a very simple application, it will suffice to demonstrate the concepts of Docker covered in this tutorial. In the next section, we’ll take a look at how to set up the Docker Engine locally on your machine.
Installing Docker
Before you can Dockerize an application, you need to install the Docker Engine. The official Docker manual provides a guide for installing the software on a variety of operating systems, most notably on macOS, Windows, and a variety of Linux distributions. Ensure you install the latest stable release - v20.10.x at the time of writing.
docker -vDocker version 20.10.5, build 55c4c88Setting up a Dockerfile
Once the Docker Engine has been installed, the next step is to set up a Dockerfile to build a Docker image for your application. An image represents an immutable snapshot of an environment that contains all the source code, dependencies, and other files needed for an application to run. Once a Docker image is created, it can be transported to another machine and executed there without compatibility issues.
Docker images are assembled through a Dockerfile. It is a text file that
contains a set of instructions executed in succession. These
instructions are executed on a parent image, and each step in the file
contributes to creating an entirely custom image for your application.
Let’s go ahead and create a Dockerfile for our demo application at the root of
the project directory:
touch DockerfileOpen up the Dockerfile in your text editor, and add the first line to the file:
FROM node:16-alpineThe above specifies the base image to be the official Node.js Alpine Linux image. Alpine Linux is used here due to its small size, which helps a lot when transporting images from one machine to the other.
The next line in the Dockerfile is shown below:
WORKDIR /appThe WORKDIR instruction sets the working directory to /app. This
directory will be created if it doesn’t exist.
Use the following lines to install your application’s dependencies: a crucial
step for building your Docker image. Note that the lines that start with #
denote a comment.
# Copy and download dependencies
COPY package.json yarn.lock ./
RUN yarn --frozen-lockfile

# Copy the source files into the image
COPY . .
Next, we need to expose the port that the application will run on through
the EXPOSE instruction:
EXPOSE 4000Finally, specify the command for starting the application:
CMD yarn startYou can see the entire Dockerfile below:
FROM node:16-alpine
WORKDIR /app
COPY package.json yarn.lock ./
RUN yarn --frozen-lockfile
COPY . .
EXPOSE 4000
CMD yarn start
Build the Docker Image
Now that the Dockerfile is complete, it’s time to build the Docker image
according to the instructions in the file. This is achieved through the docker build command. You need to pass the directory where the Dockerfile exists
and your preferred name for the image:
docker build . -t covidIf all goes well and the build succeeds, you will see the messages below at the end of the command’s output:
Successfully built 973edfcb25d2
Successfully tagged covid:latest
You can run docker images to view some basic info about the created image:
docker imagesREPOSITORY TAG IMAGE ID CREATED SIZE
covid latest 973edfcb25d2 2 minutes ago 137MBRun the Docker Image in a Container
Use the docker run command to run your newly minted Docker image inside of a
container. Since the application has been built into the image,
it has everything it needs to work. It can be launched directly in an
isolated process. Before you can access your running image inside the container, you
must expose its port to the outside world through the --publish or -p flag.
This lets you bind the port in the container to a port outside the container.
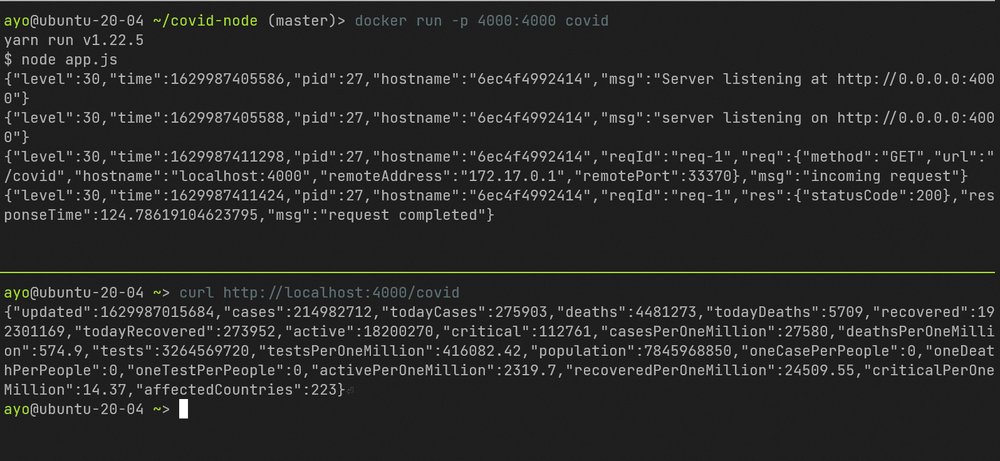
docker run -p 4000:4000 covidThe command above starts the covid image inside of a container, and exposes
port 4000 inside the container to port 4000 outside the container. You can
subsequently access the routes on your server through http://localhost:4000.
Sharing Docker Images
You can transfer Docker images from one machine to the other in a variety of
ways. The most popular method involves using the docker push command to push
the image to the official Docker registry and
retrieving it through the docker pull command.
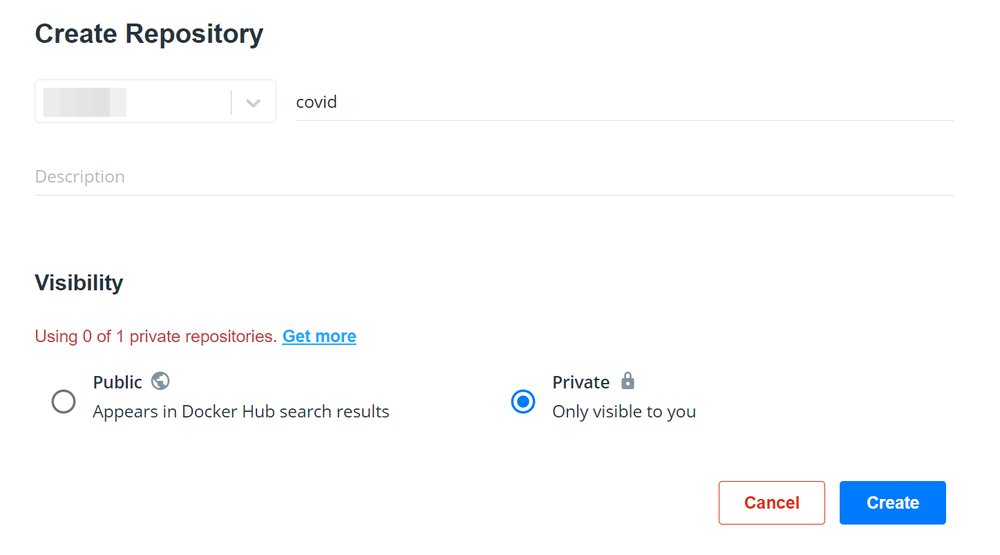
You need to sign up for a free account at Docker Hub first. After the sign up process is complete, head over to the Repositories page, and create a new repository. Give it a name, and set its visibility to “Public” or “Private”. Note that free accounts have access to a limited number of private repos.
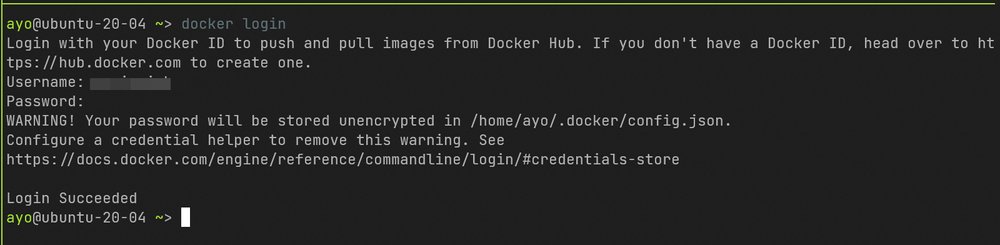
Once you’ve created a repository, enter the docker login command at your
terminal to log in to Docker Hub on your machine.
Before you push the image to Docker Hub, you need to update the image tag to
match your repository namespace: <your docker username>/<repo name>. This is
because the docker push command expects an argument in this format.
Enter the command below to tag your covid image with a new name. Ensure you
replace <your docker username> with your actual docker username.
docker tag covid <your docker username>/covidFinally, push the image to Docker Hub using the docker push command, as shown
below:
docker push <your docker username>/covidOnce the image is pushed successfully to the registry, it will be reflected in your repository dashboard:
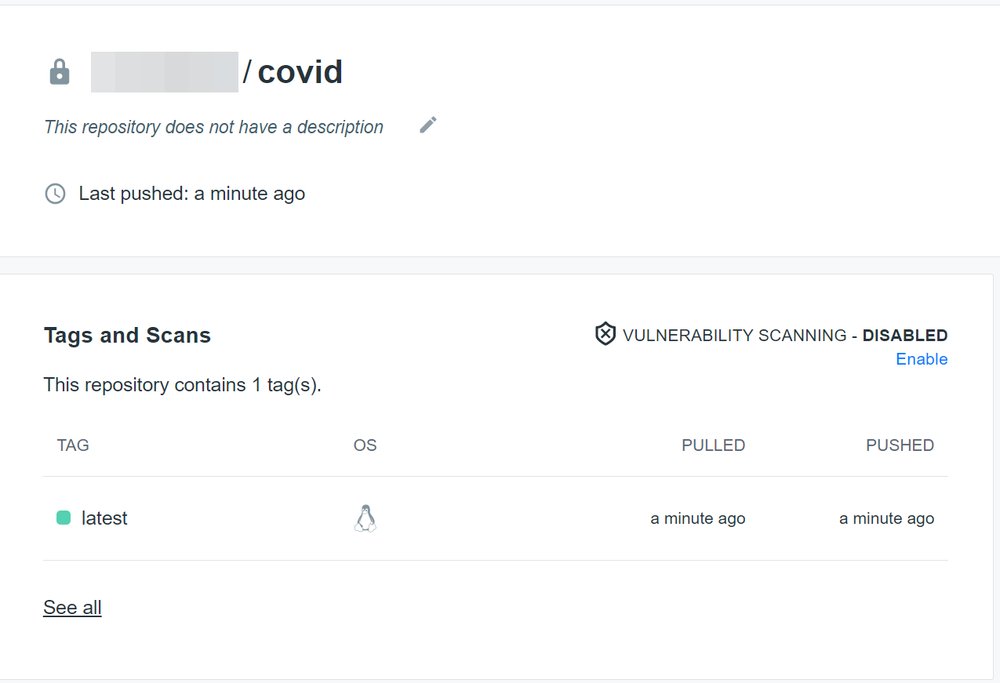
You can pull the image on any machine with docker installed through the
command below. If the repository is private, you’ll need to log in first through
the docker login command. Keep in mind that the speed of downloading an image
from the registry depends on the image size and the speed of your internet
connection. This is one of the reasons why smaller Docker images are preferred
in general.
docker pull <your docker username>/covidNote that you can also choose to share Docker images through registries provided by other cloud services such as GitLab, Google Cloud, RedHat, and others. You can even set up your own private registry on a dedicated server for use within an organization.
Share Docker Images without using a Registry
An alternative way to share a Docker image with others is to export it as a
.tar file, and transfer it to a different machine through any preferred
transport method. This helps you transfer the Docker images between machines in
cases when using a Docker registry is not desirable or possible, for
whatever reason. The docker save command is what you need to use for exporting
a Docker image:
docker save covid > covid.tarThe above command will export the covid image to a covid.tar file in the
current directory. This file may then be transported to a remote machine and
loaded into the machine’s local registry through the docker load command:
docker load < covid.tarLoaded image: covid:latestDeploy your Dockerized Node.js application to production
The easiest way to deploy a Dockerized application on a remote server is to
transfer the application’s image with docker pull and then use docker run.
This runs the application in a container similar to how you’d do it in your
development environment. However, such a strategy is suboptimal for a truly
production-ready application.
Unlike our demo application, a real-world product will likely be composed of several different services that depend on each other for the application as a whole to work properly. Deploying to production usually means starting all the component services in the right order to ensure a smooth operation. You also need a strategy for other tasks, such as restarting a service in case of failures, aggregating logs, and performing health checks. All these concerns - and more - can be handled through Docker Compose.
Docker Compose coordinates multi-container Docker applications through a single
command. It relies on a Compose file that provides a set of instructions to
configure all the containers that should be spawned. Here’s what the Compose
file (docker-compose.yml) for our demo application looks like:
version: '3'
services:
  web:
    image: covid
    ports:
      - "4000:4000"
    environment:
      NODE_ENV: production
The above Compose file uses version 3 of the Compose file
format and defines a single
service called web that uses the covid image we previously set up. If you
leave out the image property, a Docker image from the Dockerfile will be
built in the current directory and used for the service. The ports property
defines the exposed ports for the container and host machine, and the
environment property sets up any necessary environmental variables.
Once you have a docker-compose.yml file, you can start the defined services
with the docker-compose up command. Make sure you have docker-compose
installed before running the command, otherwise find out how to install Docker
Compose on your operating system.
docker-compose upRecreating covid-node_web_1 ... done
Attaching to covid-node_web_1
web_1 | yarn run v1.22.5
web_1 | $ node app.js
web_1 | {"level":30,"time":1630001521702,"pid":28,"hostname":"204c8ce51d52","msg":"Server listening at http://0.0.0.0:4000"}This command will launch the containers for the defined services, and they will
be accessible on the specified ports. Note that if you exit this command
(such as by pressing Ctrl-C), every spawned container will stop
immediately. To prevent this from happening, append the --detach flag so that
the containers start in the background and keep running.
docker-compose up --detachWe’ve only scratched the surface of the workflows a Compose file can achieve.
Ensure to check out the full
documentation to
learn more about all the available options. The docker-compose CLI also
provides several other important commands you should know about to get the most
out of it. You can examine each of them through the --help flag or the CLI
reference page.
Conclusion and further Docker reading
In this article, we covered the process of Dockerizing an existing Node.js application, building containers, and deploying to production through Docker Compose.
Keep in mind that there’s a lot more to Docker than can be covered in one article. Refer to the official documentation to learn more about best practices for writing a Dockerfile, securing a Docker container, logging, and other important topics to use Docker effectively in your application workflow.
Thanks for reading, and happy coding!