How to Build Your First Node.js Website with Express and Pug
For most of my career as a Web Developer, I worked on the frontend of websites and applications consuming APIs made by other people. Recently, I decided to learn Node.js properly and do some server-side programming as well.
I decided to write this introductory tutorial for anyone who is interested in learning Node after realising that it’s not so easy to read the documentation and figure out how to go about building stuff with Node.
I believe this tutorial will be particularly helpful if you already have some experience with JavaScript on the frontend.
Prerequisites
If you know JavaScript but you have never done any server-side programming before, this tutorial for you. Before you continue though, you need to have Node.js and npm installed.
You can search the web for instructions on how to install Node.js and npm for your preferred platform or visit the Node.js website (npm comes with Node). The versions I used while building this project are as follows:
- Node.js v9.3.0
- npm v5.8.0
You can view the version of Node and npm you have installed by running the following commands in your terminal:
$ node -v
$ npm -v
I believe the code will still work even if you’re on an older version of Node, but if you have any trouble completing the tutorial, try upgrading to the versions I used to see if it fixes your problem.
What we’ll be building
I’ll take you through how to build a simple website with Node.js, Express and Pug. The website will have a homepage and a few other pages which we’ll be able to navigate to.
Checkout the live website here.
Getting started
Download the starter files from Github, then run the following command from the root of the downloaded folder to install the project dependencies.
$ npm installI’ve chosen to provide these starter files so you don’t run the risk of running into bugs as a result of using a different version of a package from the one I used. Don’t worry, I’ll explain what each dependency does as we go along.
Now open up server.js in the root directory and type in the following code:
const express = require('express');
const app = express();
We start by importing Express which is the web server framework we are using. The express() function is a top-level function exported by the express module.
Next, we need to set up the website to run on port 7000. You can choose another port if 7000 is in use on your machine.
const server = app.listen(7000, () => {
  console.log(`Express running → PORT ${server.address().port}`);
});
You can start the web server by running node server.js from the root of your project folder.
If you open http://localhost:7000 in your browser, you will see an error message that says “Cannot GET /”. This is because we have not defined a root route for our website so let’s go ahead and do just that.
Add the following code before the server variable declaration in server.js:
app.get('/', (req, res) => {
  res.send('Hello World!');
});
The code above specifies that when a GET request is made to the root of our website, the callback function we specified within the get() method will be invoked. In this case, we are sending the text “Hello World!” back to the browser.
Now you need to restart your server before the changes take effect. Doing this every time you make a change in your code can become incredibly tedious, but I’ll show you how to get around that in the next section.
For now, stop the Node process in your terminal using Ctrl-C and start it again with node server.js then refresh your browser. You should see the text “Hello World!” on the page.

Setup Nodemon to auto restart Node.js application server
There are several tools you can use to auto restart your Node server after every change so you don’t have to deal with that. My preferred tool is Nodemon which has worked really well for me in my projects.
If you look at the package.json file, you will see that nodemon is listed under the devDependencies, so you can start using it right away.
Change the start script in package.json to the following:
{
  "scripts": {
    "start": "npx nodemon server.js"
  }
}
Kill the node process and run npm start. Now the web server will be restarted automatically everytime you make a change.
Rendering HTML in the Browser
Instead of just sending text to the browser when someone hits a route, we can send some HTML as most websites do. We can author the HTML files by hand and specify what file to send to the browser once a GET request hits a route, but it’s almost always better to use a template engine to generate HTML files on the fly.
A template engine allows you to define templates for your application and replace the variables in the template with actual values at runtime while transforming the template to an actual HTML file which is then sent to the client.
There are several template engines you can use with Express. Pug, Mustache, and EJS are some of the most popular ones. I’ll be using Pug here because I’m comfortable with the syntax but you can do the tutorial in another templating engine if you wish.
I’ve already included the pug package in our project dependencies so we can go ahead and use it in express.
Add the following code to your server.js file below the app variable. This tells express that we are using pug as our template engine.
app.set('view engine', 'pug');Express expects that our template files be kept in a folder called views. Create this folder in the root of your project directory then create a file called index.pug in the views folder and paste the following code therein:
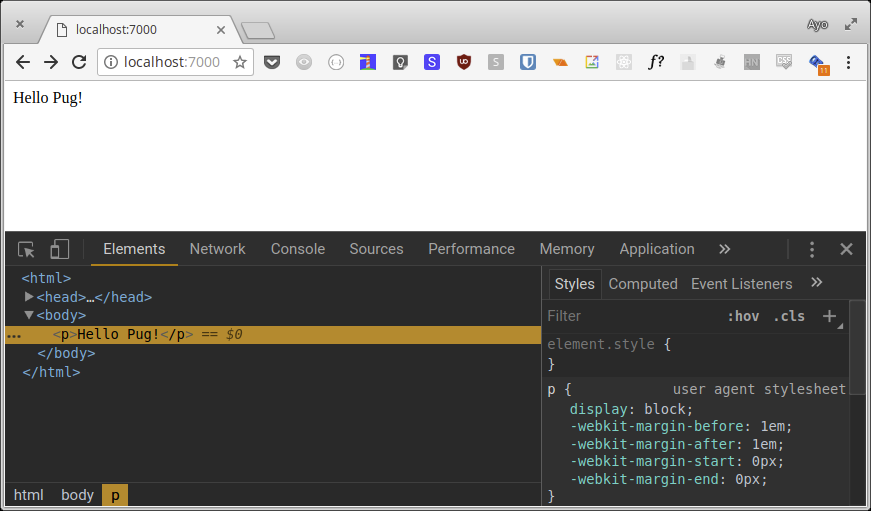
p Hello Pug!Now change the line in your server.js file that says res.send('Hello World!') to res.render('index'). This tells express to render the index template that we just created. You don’t need to put the .pug extension at the end.
If you refresh your browser, you should see the words “Hello Pug!” on the page. If you inspect the text using your browser’s developer tools, you should see that the code you wrote in index.pug was transformed into regular HTML.
Pug basics
The first thing to know is that Pug relies on indentation to describe the structure of the template and there are no closing tags.
Here’s the basic syntax for Pug that you need to understand to complete this tutorial along with the HTML equivalent in a comment below the Pug code.
You have your element, a space and the contents just like we’ve done above:
p Hello Pug!

// <p>Hello Pug!</p>
You can put an element’s content on its own line like this to achieve the same result:
p
  | Hello Pug!

// <p>Hello Pug!</p>
If you want to nest elements, you need to indent it by one level:
div
  p Hello Pug!
  button Click Me

// <div>
//   <p>Hello Pug!</p>
//   <button>Click Me</button>
// </div>
You can use classes and ids on your elements like this:
div.container
  p#hello Hello Pug!
  button.btn.btn-blue Click Me

// <div class="container">
//   <p id="hello">Hello Pug!</p>
//   <button class="btn btn-blue">Click Me</button>
// </div>
And here’s how you use HTML attributes:
img(src="fish.png" alt="A big fish")

// <img src="fish.png" alt="A big fish">
Passing variables in Pug
You can pass information from your route to your template by passing an object when you render the template like this:
res.render('index', {
  name: 'Ayo'
});
And in your template file, you can reference it like this:
p Hello my name is #{name}

// <p>Hello my name is Ayo</p>
If you want to use a variable in an attribute, you have to do it using ES2015 template literals:
img(src=`${name}.jpg` alt=`This is ${name}`)

// <img src="Ayo.jpg" alt="This is Ayo">
Let’s create a website
We can demonstrate the power of Pug and Express by building a simple website.
First, create a default.pug file in the views directory and paste in the following content. This file acts as a sort of boilerplate for our other templates.
doctype html
html
  head
    title #{title}
    link(rel='stylesheet', href='/css/style.css')
    meta(name="viewport" content="width=device-width, initial-scale=1")
  body
    main
      block header
        header.header
          h1 #{title}
      block content
The block keyword allows us to extend a template through inheritance. When extending a template, you can define custom content for any block in the parent template.
Here’s an example of how that works. In the index.pug file, type in the following:
extends default
block content
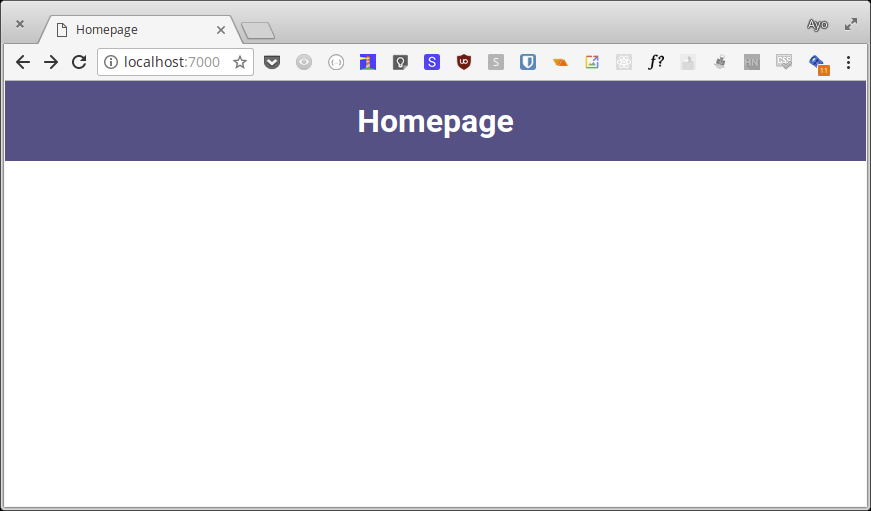
div.containerThe default template expects a title variable, so we need to pass that in when rendering any template that extends it.
res.render('index', {
  title: 'Homepage'
});
Refresh your browser to see the changes.

Working with static content
We need to tell express where static files (such as stylesheets, fonts or images) for our website are placed so that it knows how to serve them correctly.
Change your server.js file to look like this:
// ...
app.set('view engine', 'pug');

// serve static files from the `public` folder
app.use(express.static(__dirname + '/public'));
// ...
If you refresh your browser, the styles referenced in default.pug should kick in.
Working with JSON data
In the root folder, there is a people.json file which we are going to use to construct the website’s pages. If you inspect it, you will see a profiles key which is an array that contains a few objects each representing a person’s profile.
In a real world application, you will likely fetch this data from a database somewhere, but this method should serve to illustrate the concept well.
Let’s construct the website homepage. We need to pass the json data to our index template and render a card for each person defined within.
Change your server.js file to look like this:
const express = require('express');
const people = require('./people.json');

const app = express();

app.set('view engine', 'pug');

app.use(express.static(__dirname + '/public'));

app.get('/', (req, res) => {
  res.render('index', {
    title: 'Homepage',
    people: people.profiles
  });
});

const server = app.listen(7000, () => {
  console.log(`Express running → PORT ${server.address().port}`);
});
Here, we store a reference to the people.json file in the people variable. Next we pass the profiles array to the index template as the people key.
Now change your index.pug file to look like this:
extends default

block content
  div.container
    each person in people
      div.person
        div.person-image(style=`background: url('/images/${person.imgSrc}') top center
        no-repeat; background-size: cover;`)
        h2.person-name
          | #{person.firstname} #{person.lastname}
        a(href=`/profile?id=${person.id}`)
          | View Profile
The each keyword in pug allows us to iterate over arrays and objects. Each object in the people array can be accessed under the person key for each iteration and we use that to construct a card for each person on the homepage.
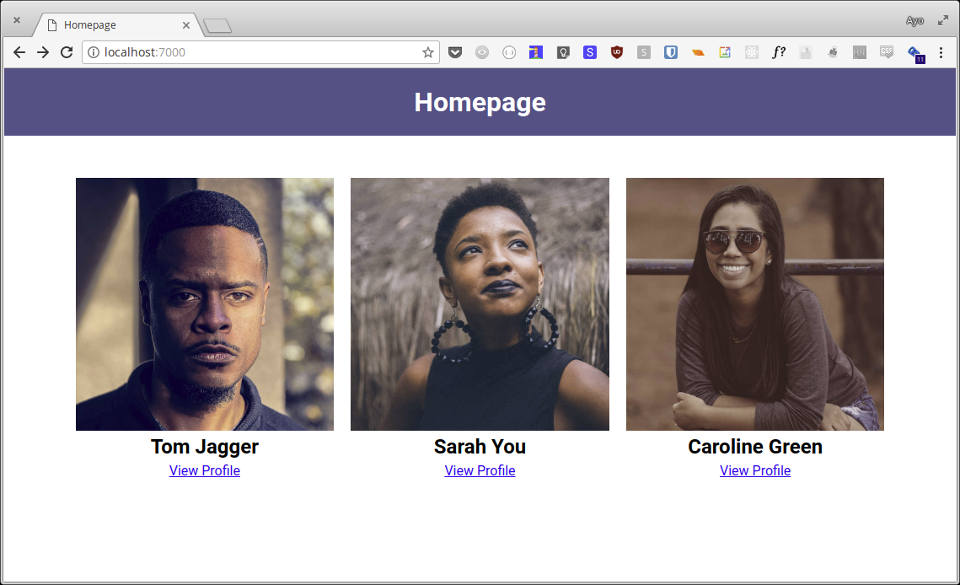
There is a link at the bottom of each person which should go to their respective profiles. But when you click it, you get an error message that says “cannot GET /profile”.

Let’s fix that by creating a new route for /profile. In server.js, add the following code under the root route:
app.get('/profile', (req, res) => {
  res.send(req.query.id);
});
Once you hit a person’s profile, it should send the person’s id back to the browser. In Express, you can access URL query parameters under req.query.
Let’s create a new template file that will be rendered once someone hits the profile route. Go ahead and create profile.pug in the views folder, and add the following content:
extends default

block header

block content
  div.profile
    div.profile-image(style=`background: url('/images/${person.imgSrc}') top center
    no-repeat; background-size: cover;`)
    div.profile-details
      h1.profile-name
        | #{person.firstname} #{person.lastname}
      h2.profile-tagline
        | #{person.tagline}
      p.profile-bio
        | #{person.bio}
      a.button.button-twitter(href=`${person.twitter}`)
        | Follow me on Twitter
Here, we are extending the default template again, and overriding the header block defined within with an empty block because we don’t want the default header content to show on this page.
In the content block, I’ve added the necessary markup for each profile. As you can see, this template expects us to pass the object that describes each person so let’s go ahead and do just that.
Change the /profile route to look like this:
app.get('/profile', (req, res) => {
  const person = people.profiles.find(p => p.id === req.query.id);
  res.render('profile', {
    title: `About ${person.firstname} ${person.lastname}`,
    person,
  });
});
First we use the array find() method to extract the first object whose id property matches the one recieved in the query parameters. Then we pass this object to the profile template.
The result is that each person’s profile can be viewed by clicking their respective profile links on the homepage.
That concludes my tutorial. I hope it has helped you learn the basics of Node.js, Express and Pug, and how you can use it to build simple websites. You can grab the complete code in this Github repo.
Thanks for reading.