A guide to setting up Vim for JavaScript development
I’ve been using Vim for close to two years now, and do all my JavaScript development work in it. In the process, I’ve tweaked my configuration several times until I finally achieved a setup that I can say I’m really happy with. So, in this article, I want to talk about some of the plugins and tools that I’ve taken advantage of to make writing JavaScript a more pleasurable experience in Vim.
All the plugins and settings were tested, and confirmed to work on Vim 8.1 and Neovim 0.4.0, the latest versions at the time of writing. As this post mainly deals with installing and configuring plugins for Vim, I recommend that you adopt vim-plug as your plugin manager if you don’t use one already.
Syntax highlighting
Vim supports basic syntax highlighting for JavaScript but I found it suboptimal especially when it comes to modern ES2015+ syntax, and it doesn’t support JSX when working with React. I found that vim-javascript and vim-jsx solved my problems in both instances.
However, I later replaced those two with vim-polyglot which is a plugin that bundles several other syntax plugins for over 100 languages, and loads them on demand so that performance is not affected.
So, instead of having to add another plugin to provide syntax highlighting for .vue files for example, vim-polyglot takes care of that without much fuss. This means I’m covered when switching between different JavaScript frameworks as well as other programming languages.
Linting your code with ESLint
Code linting helps you identify potential errors in your code without having to run the code. It also helps you avoid problematic patterns or code that doesn’t adhere to certain style guidelines. ESLint has become the dominant linting tool for JavaScript developers due to it’s comprehensive support for all the modern features of the language, and also its easy extensibility.
If you’re not using ESLint already, follow this guide to set it up in your JavaScript project. In order for ESLint to work, you need to configure it with specific rules. You can use the recommended configuration which only addresses common problems, or check out Airbnb’s style guide if you want a more comprehensive set of rules.
While ESLint was built to be used via the command line, many people (myself included) prefer to integrate it into their code editor to get live feedback on code as it is being written. Bringing ESLint integration into Vim is pretty easy with ALE.
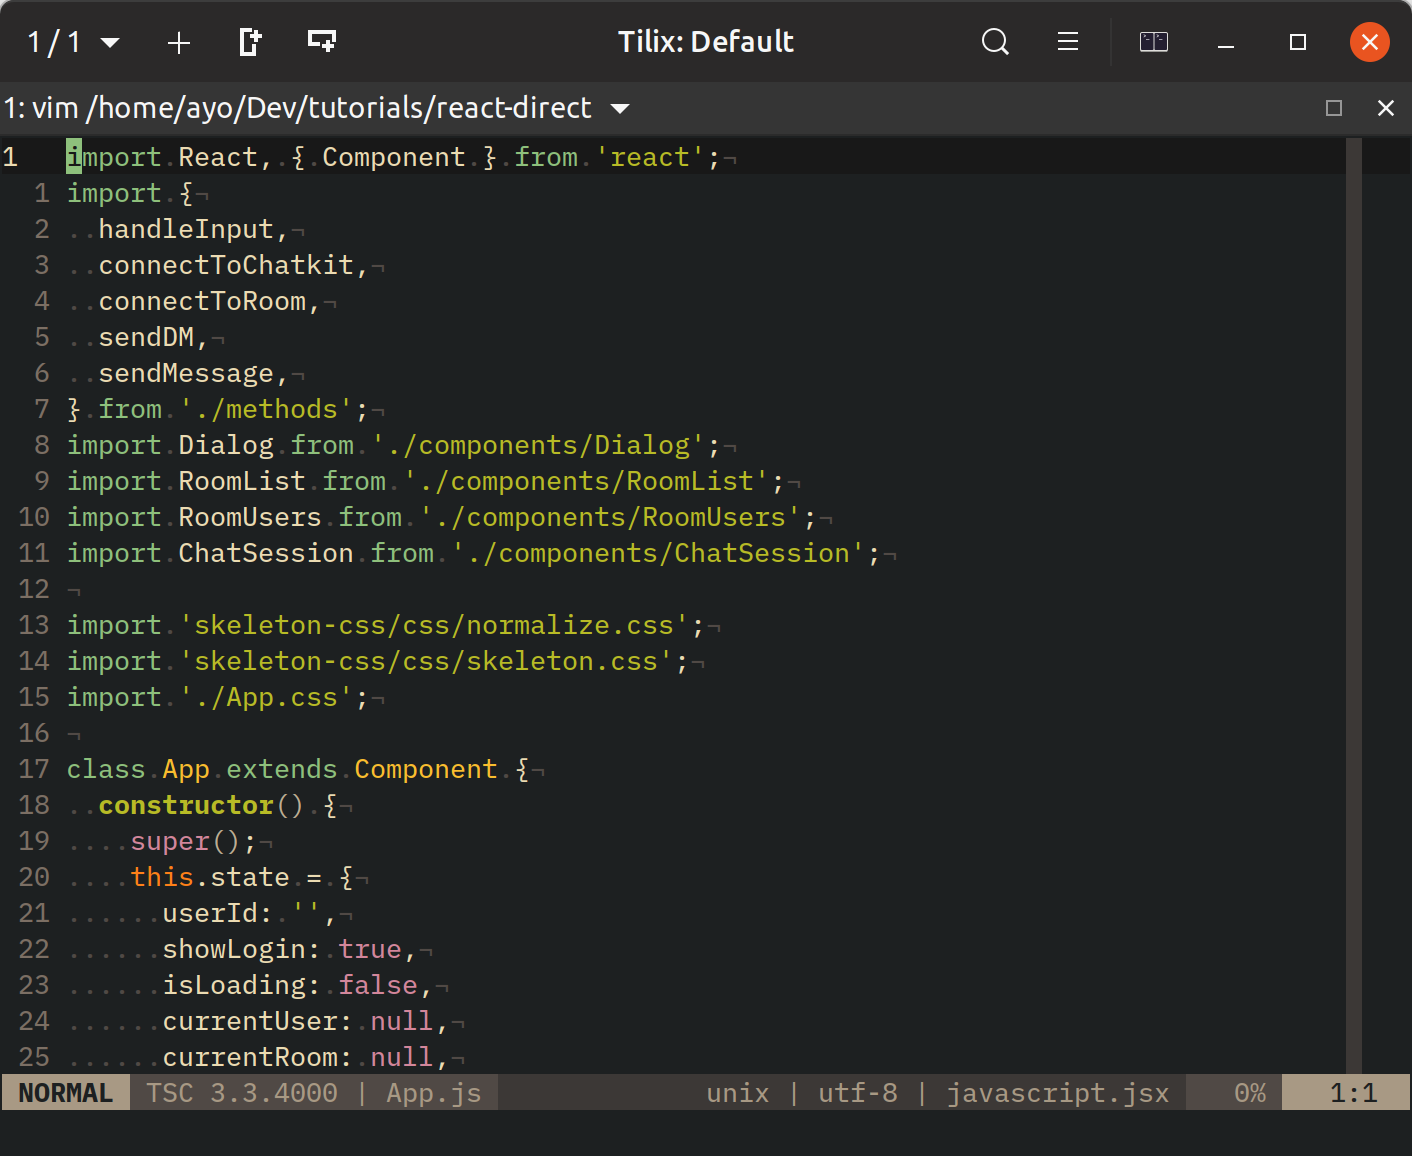
Once you install ALE, open up Vim in a JavaScript project that has been configured to use ESLint, and try to create an error on purpose. It should work straightaway without further configuration.
As you can see, indicators for errors and warnings appear next to the problematic lines as the code is written, and the reason for the error is printed at the bottom of the screen when the cursor is on the line where is error is found. In this case, ESLint is warning me that about unused variables and also about the console statement.
Additionally, you can open the location list to view all the errors in a file and jump to each error using :lnext (or :lne) to navigate to the next item and :lprevious (or :lpr) to navigate to the previous item.
An easier way to jump between linting errors quickly is to use the <Plug> keybindings shown below. You can change [c and ]c to your preferred key combination.
  nmap <silent> [c <Plug>(ale_previous_wrap)
nmap <silent> ]c <Plug>(ale_next_wrap)
By the way, I’m not a fan of the default indicators used by ALE for errors and warnings, so I changed them to something that’s aesthetically more pleasing using the following configuration:
let g:ale_sign_error = '❌'
let g:ale_sign_warning = '⚠️'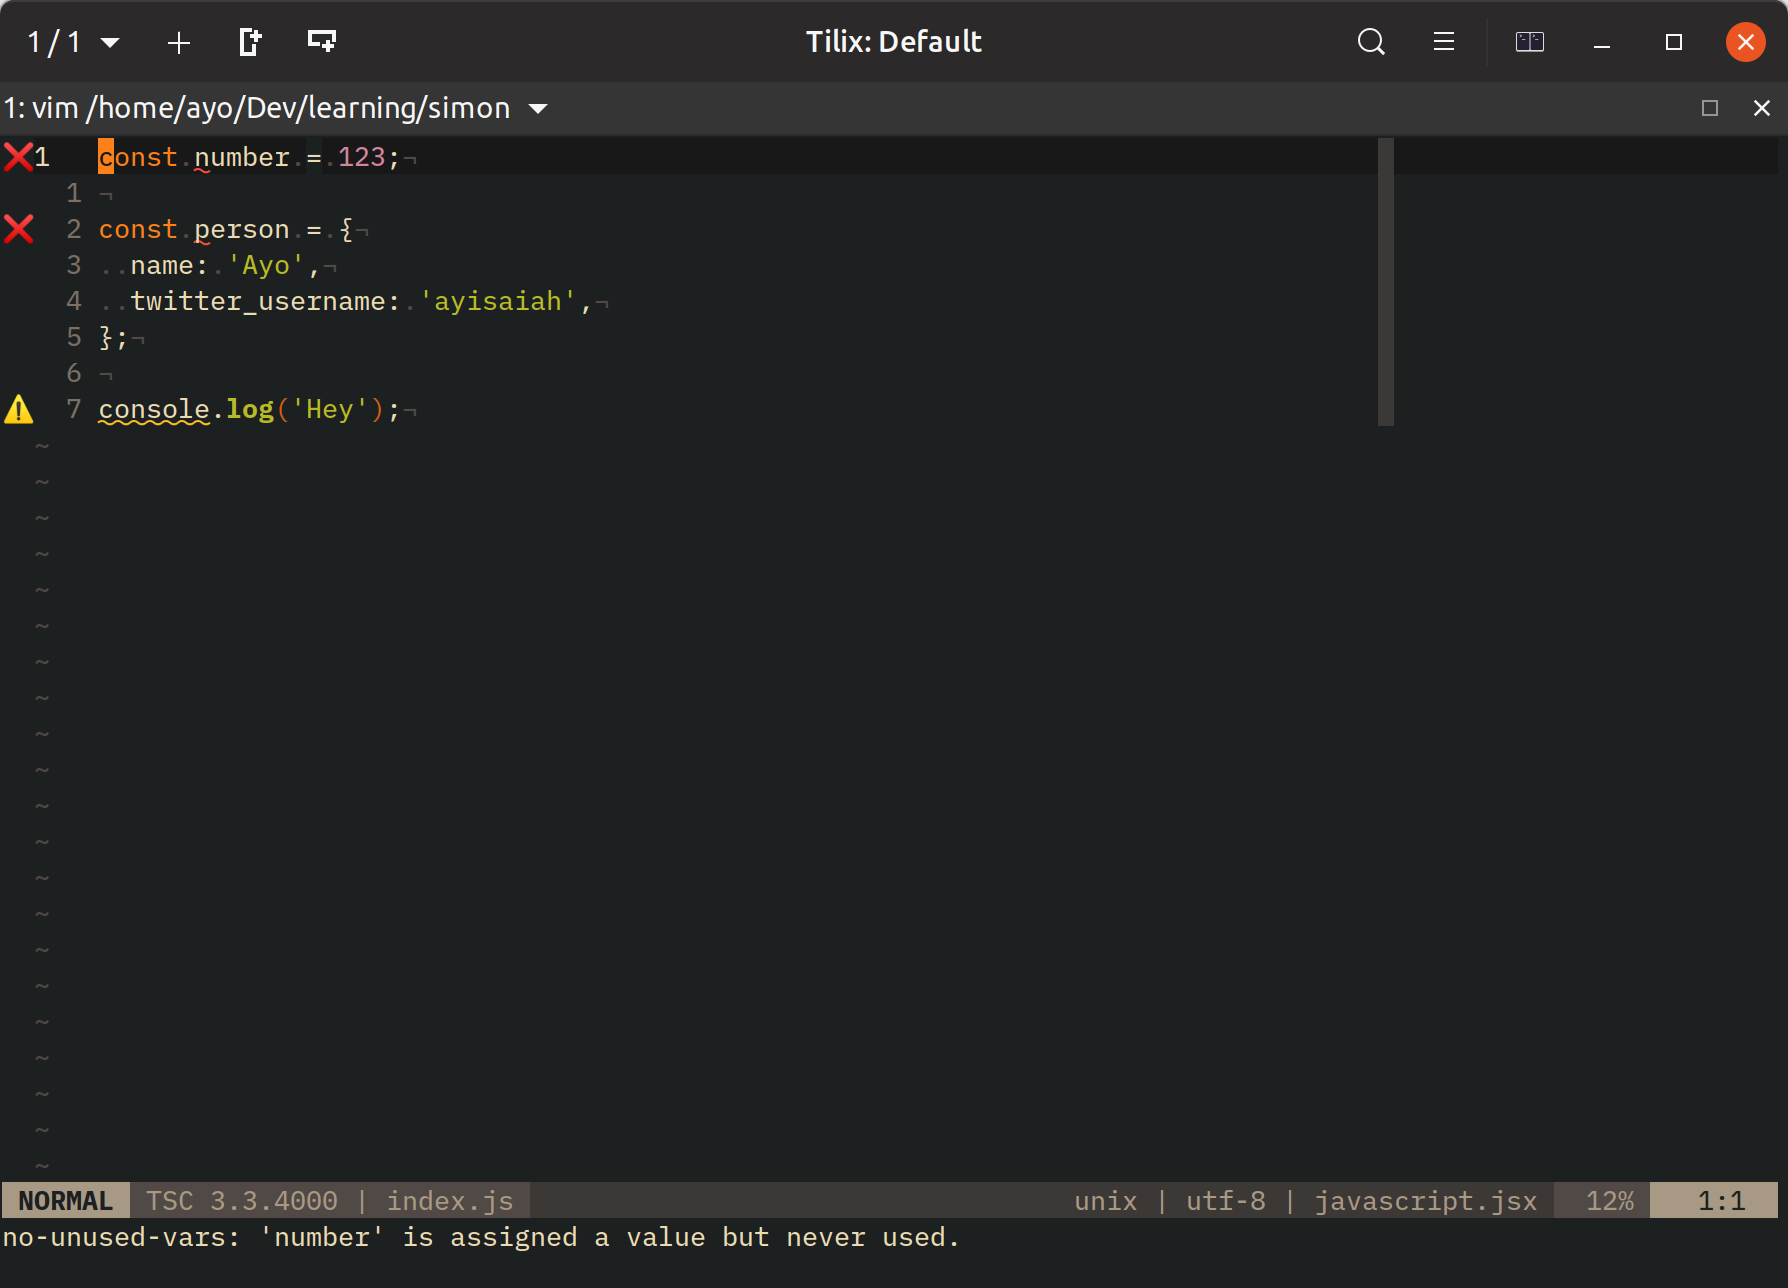
Code formatting with Prettier
Prettier is a code formatting tool that has gained huge momentum in the JavaScript ecosystem since coming on the scene around early 2017. It basically ensures that a codebase complies to a set code style guide regardless of the number of developers working on the project.
It works by formatting a file (or many files) according to the options specified in its configuration file. As such, all files formatted by Prettier adhere to the same guidelines for indendation, quote style, spacing, line width, and several other stylistic concerns.
To use Prettier, you need to add it to your project. You can use Prettier’s CLI, or configure it as a pre-commit hook, but I prefer the instant feedback of having it format my code immediately I save a file.
ESLint also has some code fixing capabilities, but some of these conflict with Prettier’s methods. It is better to have ESLint take care of code quality concerns, while leaving Prettier to focus on code formatting concerns.
To achieve this, you need to disable the ESLint rules that conflict with Prettier with eslint-config-prettier while adding Prettier’s code fixing capabilities to ESLint using eslint-plugin-prettier. To do so, run the following command in your project directory:
$ yarn add eslint-config-prettier eslint-plugin-prettier -DThen add the following to your ESLint configuration file. This configures both eslint-plugin-prettier and eslint-config-prettier in a single step.
{
  "extends": ["plugin:prettier/recommended"]
}
That’s all you need to do to integrate Prettier with ESLint. The next step is to configure Vim so that all JavaScript code is formatted nicely as soon as a file is saved. ALE solves this nicely for us!
In addition to supporting linters that report errors, ALE can also run fixers to format the code in a Vim buffer. All you need to do is specify eslint as a fixer for JavaScript in your .vimrc as shown below:
let g:ale_fixers['javascript'] = ['eslint']

" Fix files automatically on save
let g:ale_fix_on_save = 1
At this point, linting and formatting errors will be annotated by ESLint, while Prettier formats the code on save.
You can also format the code on demand using the :ALEFix command. The easiest way to use it is to create a key mapping in your Vim configuration file.
nmap <F6> <Plug>(ale_fix)Super fast fuzzy file search
File searching is important in any editor, and while Vim supports this via the :find command, it’s very basic and doesn’t support fuzzy finding as far as I can tell. There are a couple of tools out there that bring fuzzy file search to vim. After using CtrlP for a while, I switched to Fzf.vim which is a wrapper for the command line fuzzy finder with the same name, Fzf.
Fzf looks like a simple tool on the surface, but it’s actually very powerful. Here’s a few ways I take advantage of it on a daily basis:
Fuzzy file finder
My primary use of Fzf is to search files in a project. This is achieved using the :Files command which I heartily bound to Ctrl-P in my Vim config. I also modified the $FZF_DEFAULT_COMMAND variable to use Ripgrep for listing the files. After installing Ripgrep, put this in your .bashrc or .zshrc to search for all files except those in hidden directorys (like .git) or those that have been ignored in your .gitignore file:
export FZF_DEFAULT_COMMAND='rg --files --follow --hidden'

# Fish syntax
# set -gx FZF_DEFAULT_COMMAND  'rg --files --follow --hidden'
Additonally, Fzf provides the :Buffers amd :History commands for searching open buffers and your buffer history. I have mapped these to <Leader>b and <Leader>h respectively.
nnoremap <C-p> :Files<CR>
nnoremap <Leader>b :Buffers<CR>
nnoremap <Leader>h :History<CR>
Similarly to CtrlP, once Fzf is open, you can hit the Enter key to open the selected file in the current window, or use Ctrl-T, Ctrl-X or Ctrl-V to open selected files in a in new tab, horizontal split, or vertical split respectively.
Searching for tags
Fzf provides two main commands for searching tags in a project. The first one
:BTags allows you to search for tags in the current buffer. It doesn’t require
a tags file, and is great for jumping between methods quickly.
The second one, :Tags, allows you to perform project wide search for tags, but it does
require a tags file. You can use Universal Ctags to generate a tags file for your project and combine it with Gutentags to automate the creation and updating of tags in the background.
I have mapped both commands mapped to <Leader>t and <Leader>T respectively.
nnoremap <Leader>t :BTags<CR>
nnoremap <Leader>T :Tags<CR>
Project-wide search
The :Rg command provided by Fzf uses Ripgrep to find all occurrences of a pattern across an entire project, so you can search for a specific string, select the matches and navigate the results using the quickfix list. I often use it to check for where a method is used in my codebase, and I found it incredibly helpful in a recent project I was refactoring.
When using :Rg, you can narrow down the results and hit Enter on
the selected result to open the file in the current window. This will skip the
quickfix list altogether. To select multiple results, just use the
Tab key on each file you want to select or Alt-A to select
all results and then Enter to populate the quickfix list which you
can navigate with :cnext and :cprev.
There is so much more that can be done with Fzf. For example you can navigate Vim’s :help documentation with :Helptags, search for Snippets (:Snippets), Git Commits (:Commits), Command history (:History:), and more. Use :h fzf-vim-commands to find out all the options available to you.
Intelligent code completion
For most people, having a good code completion experience is pivotal to having a modern development setup. Vim supports some basic functionality out of the box through omnicomplete, but we’re going to replace that with something much more powerful.
Since I started using Vim, I’ve tried an few plugins for auto-completion, including Deoplete and YouCompleteMe but neither provided the experience I desired.
I discovered Coc.nvim recently and it’s been great! It brings several IDE-like features to Vim and is easy to set up. It’s built upon the concept of language servers, which power features like auto-completion, go-to-definition, hover tooltips, and more in modern editors.
Follow the installation guide to get Coc.nvim up and running. Once Coc.nvim has been installed, you need to install some language server extensions to provide intellisense support for JavaScript and Typescript projects. You can so so with :CocInstall.
:CocInstall coc-tsserver coc-jsonWith coc-tsserver, you get so many features that make writing, debugging and refactoring JavaScript or Typescript a breeze. Without configuring anything, auto-completion should just work and you can see function signatures and relevant suggestions as you type.
You can even replace ALE’s linting and code formatting capabilities with the help of coc-eslint and coc-prettier, but as I’m already happy with my setup, I have opted not to do so at this time.
Conclusion
This post has covered several plugins that can help you get more utility from Vim when it comes to JavaScript development. While you don’t have to use any of this stuff to be productive with Vim, it can certainly help you avoid bugs, and speed up the development process.
I hope you’ve found this article useful. If you have any questions, or experience any troubles while configuring a plugin, do leave a comment below and I’ll get back to you. If you’re curious about my personal configuration, you can check out my dotfiles or send me a message on Twitter.
Thanks for reading!