Learn Node.js by Building a Timestamp Microservice App
One of the reasons why Node.js is such a great platform for building applications is the abundance of libraries that have been developed by the community for practically all the common use cases. This makes it really easy to go from idea to a production-ready application in a relatively short space of time.
That said, at least understanding Node.js’s standard libraries will always be beneficial to you, especially if you want to gain a deeper understanding of how Node.js works.
In this article, you’ll learn how to build a timestamp microservice using a few built-in Node.js modules. Here’s a live demo of what we’ll be building. You can find the complete source code for this project in this GitHub repo.
Prerequisites
You need to have previous experience with building JavaScript applications in the browser, but no prior experience with using Node.js is required. Before you continue though, you need to have Node.js and npm installed.
You can visit the Node.js website to view installation instructions for your operating system. npm comes bundled with Node, so once you install Node, you’ll have access to the npm command too.
The versions I used while building this project are as follows:
- Node.js v10.9.0
- npm v6.4.1
You can view the version of Node and npm you have installed by running the following commands in your terminal:
node -v
npm -v
User stories
Here are the user stories for this project:
- The API endpoint is
GET [project_url]/api/timestamp/:date_string? - A date string is valid if can be successfully parsed by
new Date(date_string). Note that the unix timestamp needs to be an integer (not a string) specifying milliseconds. In our test we will use date strings compliant with ISO-8601 (e.g. “2016-11-20”) because this will ensure an UTC timestamp. - If the date string is empty, it should be equivalent to trigger
new Date(), i.e. the service uses the current timestamp. - If the date string, is valid the API returns a JSON having the structure
{"unix": <date.getTime()>, "utc" : <date.toUTCString()> }e.g.{"unix": 1479663089000 ,"utc": "Sun, 20 Nov 2016 17:31:29 GMT"}. - If the date string, is invalid the API returns a JSON having the structure
{"error" : "Invalid Date" }.
Getting started
Open a new terminal instance on your computer, then create a new directory for this project in your filesystem and change into it using the following commands:
mkdir timestamp-microservice
cd timestamp-microservice
The first step when starting a new Node project is to initialise it with a package.json file. This file contains some information about a project including its name, description, author and all the packages that it depends on. Here’s the command that helps you create a package.json file for your project:
npm initRunning the above command opens up a prompt that allows you to input the information for specific parts of your project in the following order:
- The name of the project.
- The project’s initial version.
- The project description.
- The project’s entry file.
- The project’s test command.
- The git repository for the project,
- Keywords related to the project.
- The project licence.
If you’re satisfied with the suggestion that the command provides next to each field (in brackets), just hit the Enter key to accept it and move on to the next field until the command exits. You can also use npm init -y to quickly populate a package.json file with all the default values.
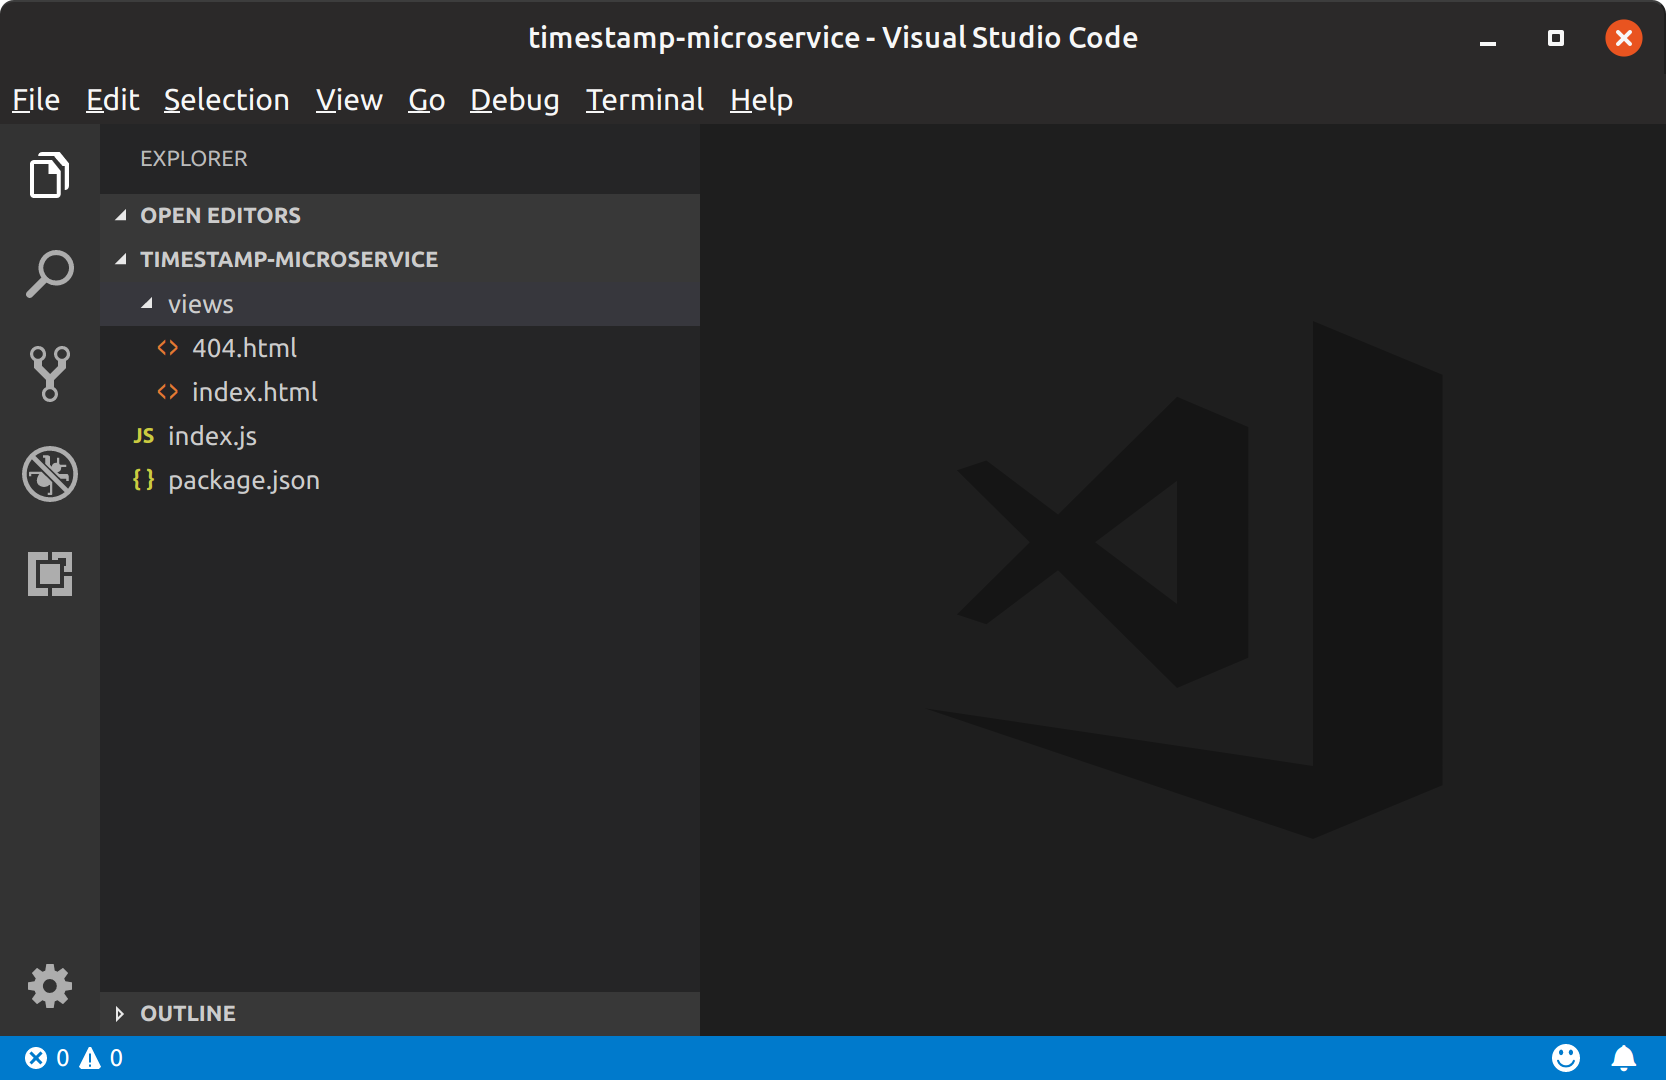
The next step is to create an index.js file at the root of your project directory. This is where we will be writing the code for this project.
touch index.jsFinally, create a views folder at the root of your project directory. This folder will contain two HTML files: index.html and 404.html.
mkdir views
touch views/index.html views/404.html
Open up the project folder in your favourite text editor. We can now start building the application.
Create an HTTP web server
Open up index.js and type the following code into it:
const http = require("http");

const requestHandler = (req, res) => {
  console.log(req.url);
  res.end('Hello world!');
};

const server = http.createServer(requestHandler);

server.listen(process.env.PORT || 4100, err => {
  if (err) throw err;

  console.log(`Server running on PORT ${server.address().port}`);
});
The first line requires the http module that ships with Node and makes it accessible through the http variable. Then, we utilise the createServer method on the http module to create a new instance of an HTTP server which is then stored in the server variable.
Notice the requestHandler function created under the http variable. This function will be invoked on each incoming request to the web server. The req and res arguments are objects that represent the request from the client and server response respectively.
The listen method starts the server and makes it listen for incoming connections on the PORT environmental variable (available on the process.env object) or 4100 if there’s nothing there. The callback function passed to the listen method will execute when the server starts. If the provided port is already taken, or the server cannot start for any other reason, an error is thrown. Otherwise, the console.log() statement is printed in the terminal.
You can start the server by running node index.js in the terminal. Once your server is running, visit http://localhost:4100 in your browser. You should see the words “Hello world!”.
Create the root route
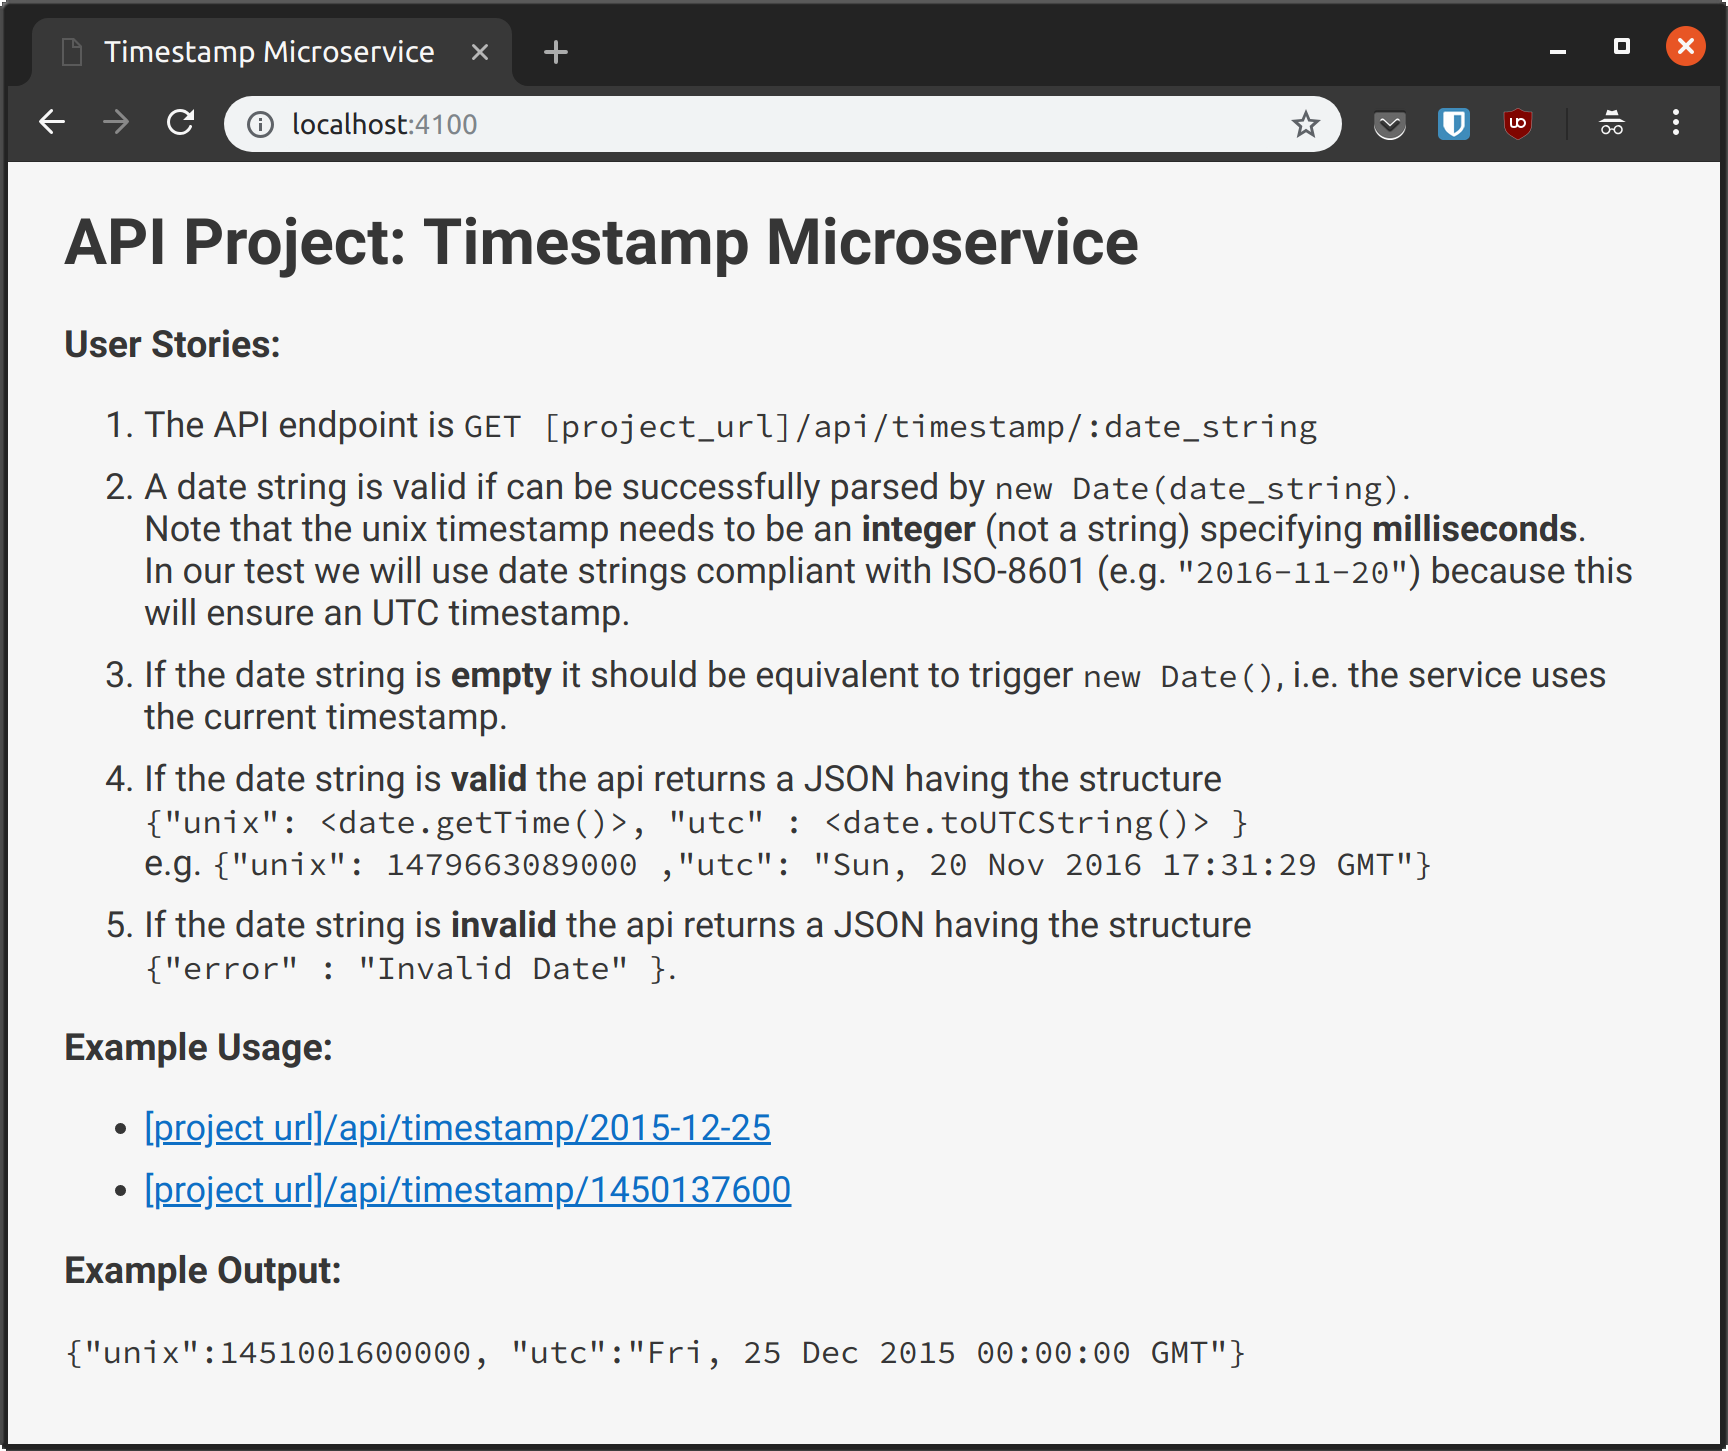
Since the http module is very basic, it doesn’t provide us with a router. So we have to manually check for the URL to decide what to do for each route. We want to provide instructions on how to use the timestamp microservice once the root route is hit just like in the demo.
We can do this by modifying the requestHandler function like this:
const requestHandler = (req, res) => {
  if (req.url === "/") {
    // Do something
  }
};
A simple if statement can help us check if the incoming request url is exactly / and then we can put the logic for that route between the curly braces. In this case, we want to return some HTML explaining how the microservice works. Before you continue, copy and paste the following into the views/index.html file we created earlier and save the file.
<!DOCTYPE html>
<html lang="en">
<head>
<meta charset="UTF-8">
<meta name="viewport" content="width=device-width, initial-scale=1.0">
<meta http-equiv="X-UA-Compatible" content="ie=edge">
<title>Timestamp Microservice</title>
<style>
body {
font-family: -apple-system, BlinkMacSystemFont, 'Segoe UI', Roboto, Oxygen-Sans, Ubuntu, Cantarell, 'Helvetica Neue', sans-serif;
color: #333;
background-color: #f6f6f6;
}
.container {
width: 100%;
max-width: 800px;
margin-left: auto;
margin-right: auto;
}
li {
margin-bottom: 10px;
}
li, p {
font-size: 18px;
}
code {
font-size: 90%;
}
a {
color: #006fc6;
}
</style>
</head>
<body>
<div class="container">
<h1>API Project: Timestamp Microservice</h1>
<h3>User Stories:</h1>
<ol class="user-stories">
<li>The API endpoint is <code>GET [project_url]/api/timestamp/:date_string</code></li>
<li>A date string is valid if can be successfully parsed by <code>new Date(date_string)</code>.<br>
Note that the unix timestamp needs to be an <strong>integer</strong> (not a string) specifying <strong>milliseconds</strong>.<br>
In our test we will use date strings compliant with ISO-8601 (e.g. <code>"2016-11-20"</code>) because this will ensure an UTC timestamp.</li>
<li>If the date string is <strong>empty</strong> it should be equivalent to trigger <code>new Date()</code>, i.e. the service uses the current timestamp.</li>
<li>If the date string is <strong>valid</strong> the api returns a JSON having the structure<br><code>{"unix": <date.getTime()>, "utc" : <date.toUTCString()> }</code><br>
e.g. <code>{"unix": 1479663089000 ,"utc": "Sun, 20 Nov 2016 17:31:29 GMT"}</code></li>
<li>If the date string is <strong>invalid</strong> the api returns a JSON having the structure <br>
<code>{"error" : "Invalid Date" }</code>.
</li>
</ol>
<h3>Example Usage:</h3>
<ul>
<li>
<a href="api/timestamp/2015-12-25">[project url]/api/timestamp/2015-12-25</a>
</li>
<li>
<a href="api/timestamp/1450137600000">[project url]/api/timestamp/1450137600</a>
</li>
</ul>
<h3>Example Output:</h3>
<p>
<code>{"unix":1451001600000, "utc":"Fri, 25 Dec 2015 00:00:00 GMT"}</code>
</p>
</div>
</body>
</html>So how do we send an HTML response to the browser? We can use the built-in fs module to read the file, and then send the file’s contents to the browser using the res argument which represents the server’s response.
Require the fs module just below the http one as shown below:
const http = require("http");
const fs = require("fs");
Then modify the requestHandler function to look like this:
const requestHandler = (req, res) => {
  if (req.url === "/") {
    fs.readFile("views/index.html", "utf8", (err, html) => {
      if (err) throw err;

      res.writeHead(200, { "Content-Type": "text/html" });
      res.end(html);
    });
  }
};
The readFile() method asynchronously reads the file provided in the first argument (views/index.html) using the provided encoding (utf8), and executes the provided callback function. If an error occurs while reading the file, an exception is thrown. Otherwise, the contents of the file becomes available in the second argument of the callback function (html) in this case.
Now, we can send the contents of the html to the browser. But we need to set the HTTP response code as well as set a response header to tell the browser what the media type of the returned content actually is.
The writeHead() method on the server response object is used in this case. It accepts the status code as the first argument, and an object representing the response headers as the second. We’ve set the Content-Type header to text/html to ensures that the browser interpretes the contents of our response as HTML.
Next, the end() method sends the contents of the index.html file to the browser in the response body and signals the end of the server response.
To try out the new additions to the code, you need to stop the server with Ctrl-C and start it again using node server.js, then refresh your browser. You should see the html from the views/index.html file on the page.
Set up Nodemon to auto restart Node process
By default, you have to kill the server process and restart it whenever you make a change to your code, but there’s an easy way around that.
You need to install a tool called Nodemon which auto restarts the node process whenever your code changes. You can install this tool globally on your machine with npm:
npm install -g nodemonOnce Nodemon is installed, kill the server process and start it again with nodemon index.js. Now the web server will be auto restarted whenever you make a change in your code. Pretty neat huh?
Set up the timestamp microservice route
The next step is to set up a route for the timestamp microservice. According to user story #1, this service should be available under /api/timestamp/:date_string? where :date_string? represents the date string that will be passed to the service.
Modify your index.js file so that it look likes this:
// require statements

const getTimestamp = date => ({
  unix: date.getTime(),
  utc: date.toUTCString()
});

const requestHandler = (req, res) => {
  if (req.url === "/") {
    fs.readFile("views/index.html", (err, html) => {
      if (err) throw err;

      res.writeHead(200, { "Content-Type": "text/html" });
      res.end(html);
    });
  } else if (req.url.startsWith("/api/timestamp")) {
    const dateString = req.url.split("/api/timestamp/")[1];
    let timestamp;

    if (dateString === undefined || dateString.trim() === "") {
      timestamp = getTimestamp(new Date());
    } else {
      const date = !isNaN(dateString)
        ? new Date(parseInt(dateString))
        : new Date(dateString);

      if (!isNaN(date.getTime())) {
        timestamp = getTimestamp(date);
      } else {
        timestamp = {
          error: "invalid date"
        };
      }
    }

    res.writeHead(200, { "Content-Type": "application/json" });
    res.end(JSON.stringify(timestamp));
  }
};

// rest of the file
I know that’s a lot of code to process so let me walk you through it bit by bit. We have an else if statement in requestHandler that checks if the request URL starts with /api/timstamp. If so, we split the request URL into two and grab the dateString part off the resulting array.
If dateString is undefined or an empty string, it means that no date string was provided in the request. User story #3 dictates that we treat that situation as if the current date was requested, and that’s what getTimestamp(new Date()) does.
If a dateString does exist, we need to check if it’s a unix timestamp or an ISO-8601 date string (such as “2018-11-22”) so that we can decide whether to pass a number or a string to new Date(). Note that if you pass a unix timestamp as a string to new Date(), you will get an invalid result. That’s why this step is necessary.
Next, we check if the date object stored in the date variable is valid. If so, we get the timestamp object as before, otherwise we set the timestamp variable to the structure for invalid dates as specified in user story #5.
The final step is to send the contents of the timestamp variable to the browser. In this case, we set the Content-Type header to application/json so that the response body is correctly interpreted as JSON. We also make sure that we are sending a valid JSON value by calling JSON.stringify(timestamp) and passing the output to the end method.
Now, test the app by passing a valid date string or unix timestamp after /api/timestamp/ or leave the date string out to get a JSON response for the current date. You can also try to pass an invalid date string to confirm that the service recognises it as an invalid date.
Implement a 404 page
We’ve completed all the user stories for this application, but there’s one final thing I’d like us to do. If browser requests a url that is not / or starts with /api/timestamp, we should set up the server to send a 404 response to the browser.
First, populate the views/404.html file with the following code:
<!DOCTYPE html>
<html lang="en">
<head>
  <meta charset="UTF-8">
  <meta name="viewport" content="width=device-width, initial-scale=1.0">
  <meta http-equiv="X-UA-Compatible" content="ie=edge">
  <title>404 Not found</title>
</head>
<body>
  <h1>undefined is, unfortunately, not a function</h1>
  <p>You just 404'd. Maybe you should head back to the <a href="/">homepage</a>.</p>
<script></script>
</body>
</html>
Next, modify the requestHandler function in index.js so that it looks like this:
const requestHandler = (req, res) => {
if (req.url === "/") {
fs.readFile("views/index.html", (err, html) => {
if (err) throw err;
res.writeHead(200, { "Content-Type": "text/html" });
res.end(html);
});
} else if (req.url.startsWith("/api/timestamp")) {
const dateString = req.url.split("/api/timestamp/")[1];
let timestamp;
if (dateString === undefined || dateString.trim() === "") {
timestamp = getTimestamp(new Date());
} else {
const date = !isNaN(dateString)
? new Date(parseInt(dateString))
: new Date(dateString);
if (!isNaN(date.getTime())) {
timestamp = getTimestamp(date);
} else {
timestamp = {
error: "invalid date"
};
}
}
res.writeHead(200, { "Content-Type": "application/json" });
res.end(JSON.stringify(timestamp));
} else {
fs.readFile("views/404.html", (err, html) => {
if (err) throw err;
res.writeHead(404, { "Content-Type": "text/html" });
res.end(html);
});
}
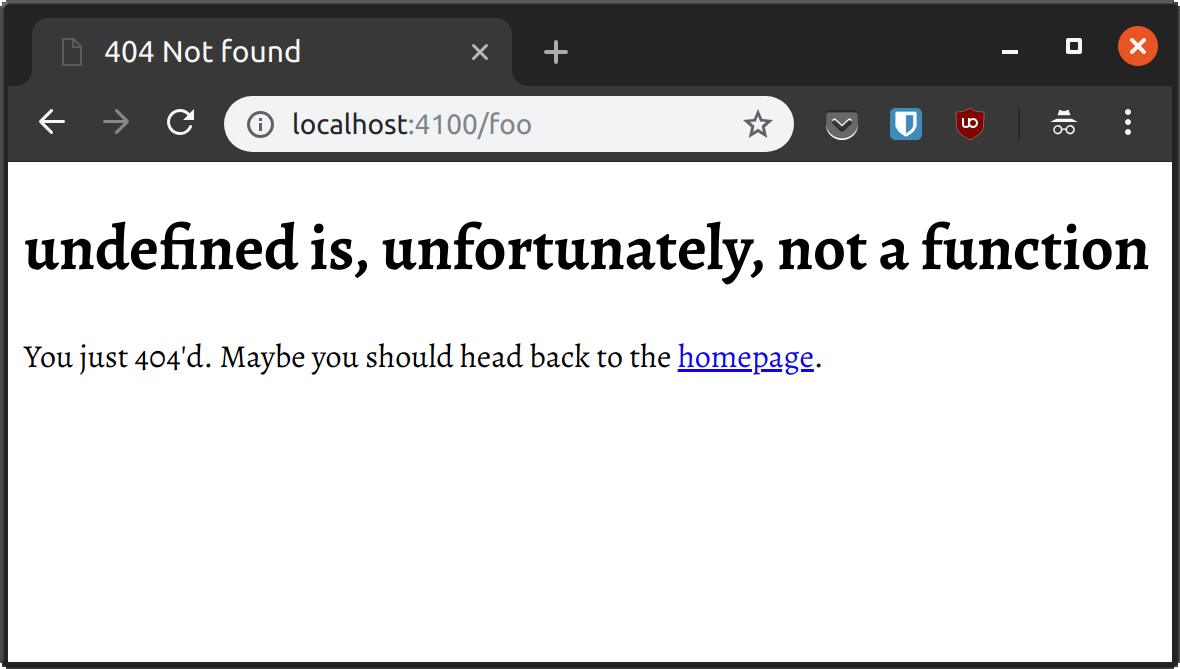
};I’ve added a final else block at the end of the requestHandler function that reads the contents of the views/404.html file and sends it to the browser for any URL that does not match / or /api/timestamp/:date_string?.
Try it out. Enter a URL like http://localhost:4100/foo in your browser and confirm that it works!
Deploy to Heroku
What good is a timestamp microservice if no one can use it? Let’s share it with the world by deploying it to Heroku.
The first step is to sign up for a free Heroku account. Once your account is activated, follow this link to create a new app. Give it a unique name. I called mine “ayo-timestamp”.
Once your app is created, follow the instructions here to install the Heroku CLI on your machine. Then run the heroku login command in the terminal to login to your Heroku account.
Make sure you’ve initialised a git repository for your project. If not, run the git init command at the root of your project directory, then run the command below to set heroku as a remote for your git repo. Replace <app name> with the name of your application.
heroku git:remote -a <app name>Next, create a Procfile in the root of your project directory (touch Procfile) and paste in the following contents:
web: node index.jsNext, specify the version of Node you are running in your package.json file under the engines key. I specified version 10.9.0 since that’s the version I’m running on my computer. You should change that value to match the version of Node you have on your machine.
{
  "name": "timestamp-microservice",
  "version": "1.0.0",
  "description": "",
  "main": "index.js",
  "scripts": {
    "test": "echo \"Error: no test specified\" && exit 1"
  },
  "keywords": [],
  "author": "Ayo Isaiah",
  "license": "MIT",
  "engines": {
    "node": "10.9.0"
  }
}
Finally, commit your code and push it to the Heroku remote using the following commands:
git add .
git commit -m "Initial commit"
git push heroku master
Once the deployment process is done, you can open https://<your-app-name>.herokuapp.com to view and test your project.
Conclusion
We’ve successfully built a timestamp microservice using only built-in Node modules, and deployed it to Heroku. To be sure, using web frameworks like Express is easier and more practical for non-trivial applications, but you’d be a much better Node developer if you’re at least a little familiar with its standard library before checking out what the community has to offer.
I’ve got another tutorial that covers building a Node.js website using the Express as the web server and Pug for templating. You can check it out if you want some more practice with building Node projects and subscribe to my newsletter to get notified when I publish new tutorials.